Printing Crystals
More 3D prints this week, all with substantial help from my girlfriend (the resident 3D printer expert). This time, we produced a few prints of a crystal model for a friend of mine. Looking forward to gifting these!
An early print of the crystal and some Benchy Boats, a model used for printer calibration:
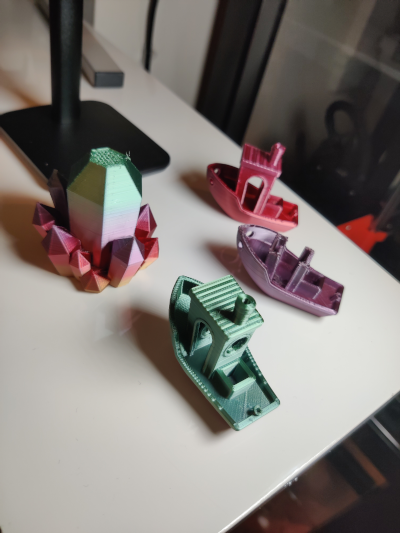
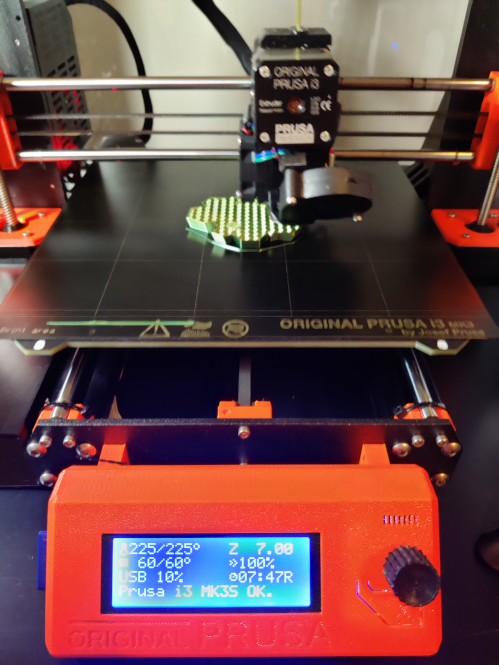
Our first total success!
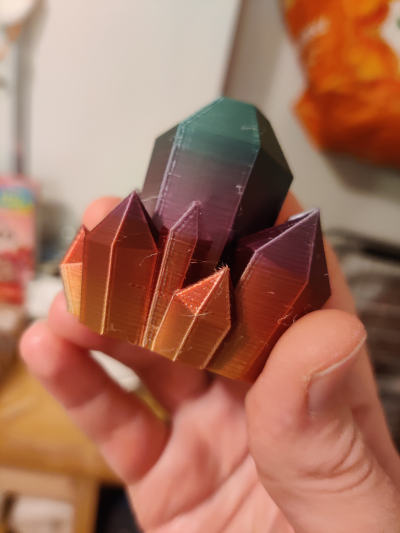
The model up close. We used a rainbow filament but, due to the scale of the print and the low volume of its infill, it’s hard to see the gradient. The infill is the inner part of the print, hidden by the outer surface of the print. It accounts for the vast majority of the material used in most on-hollow models.
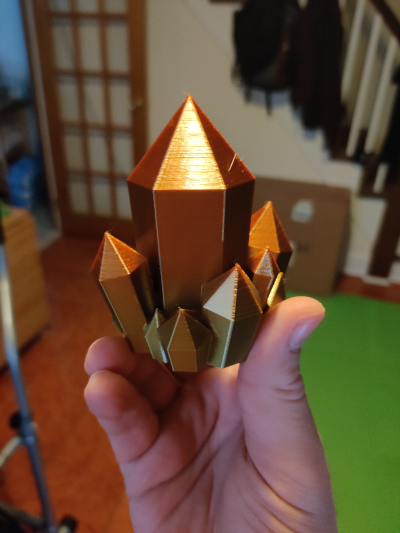
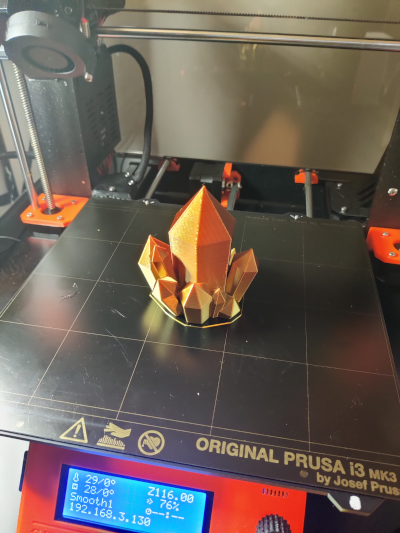
The infill consists of lattices of various shapes, generally more empty space than filament. But we can increase the amount of infill significantly. This makes the final model heftier and sturdier. The use of additional material on the inside also makes the gradient much more pronounced on the outer layer since the printer goes through a greater length of the strand on the inner portion of each layer before printing the exterior of the next layer.
Increasing the infill and the scale of the models increases the total print time and cost of the model, though, so this approach comes with limits. The next crystal print will take about nine hours but I can’t wait to see how it looks in the morning.